Friday, August 19, 2016

Kitchen Demo Day One!


It's been about 2 1/2 years since we've posted anything.  Lots has happened.  We are now starting on the kitchen and that's the primary project I'll be posting about. I'll also try to toss in some photos of the other rooms/projects we've knocked out since 2013 when there's nothing to post for the kitchen.  

Here's some before pictures, taken this morning.  Apologies that it might be hard to grasp the floor plan if you've not actually been here.  It's a galley style kitchen, very large pantry (that we use as our kitty food/litter room), an awkwardly small dining room that feels more like a hallway and a breakfast table area (where we spent most of our time).

Kitchen with our fun colors.  Goodbye colors and shelves.  


Dining Room area and small staircase 


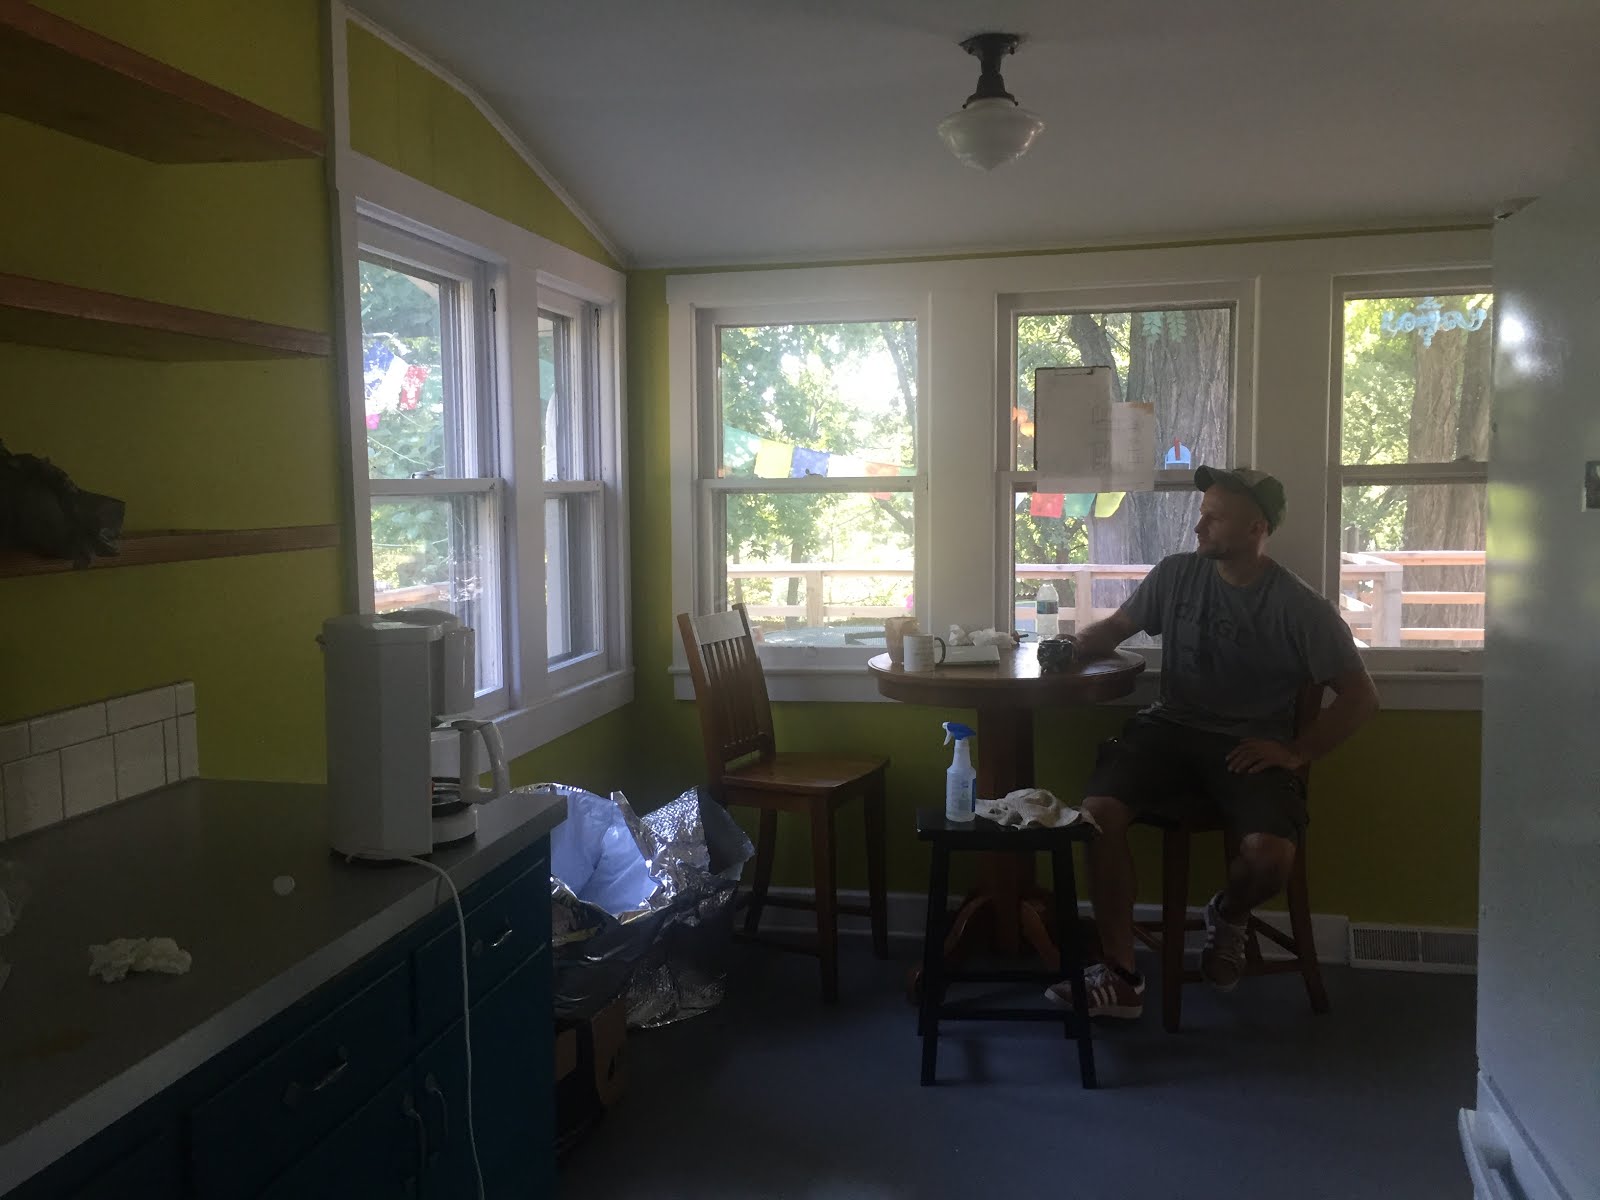
Dining room looking at David sitting at his breakfast table.  He was a little sad this morning.  Notice the orange wall on the left side - that's the pantry wall/old exterior wall that will be removed later in the day. 


Another picture of our breakfast nook area


And a few of the pantry 


Hallway into the pantry and the basement stairs


And now for the DEMO...
Previous kitchen area


Dining room looking to where the pantry was
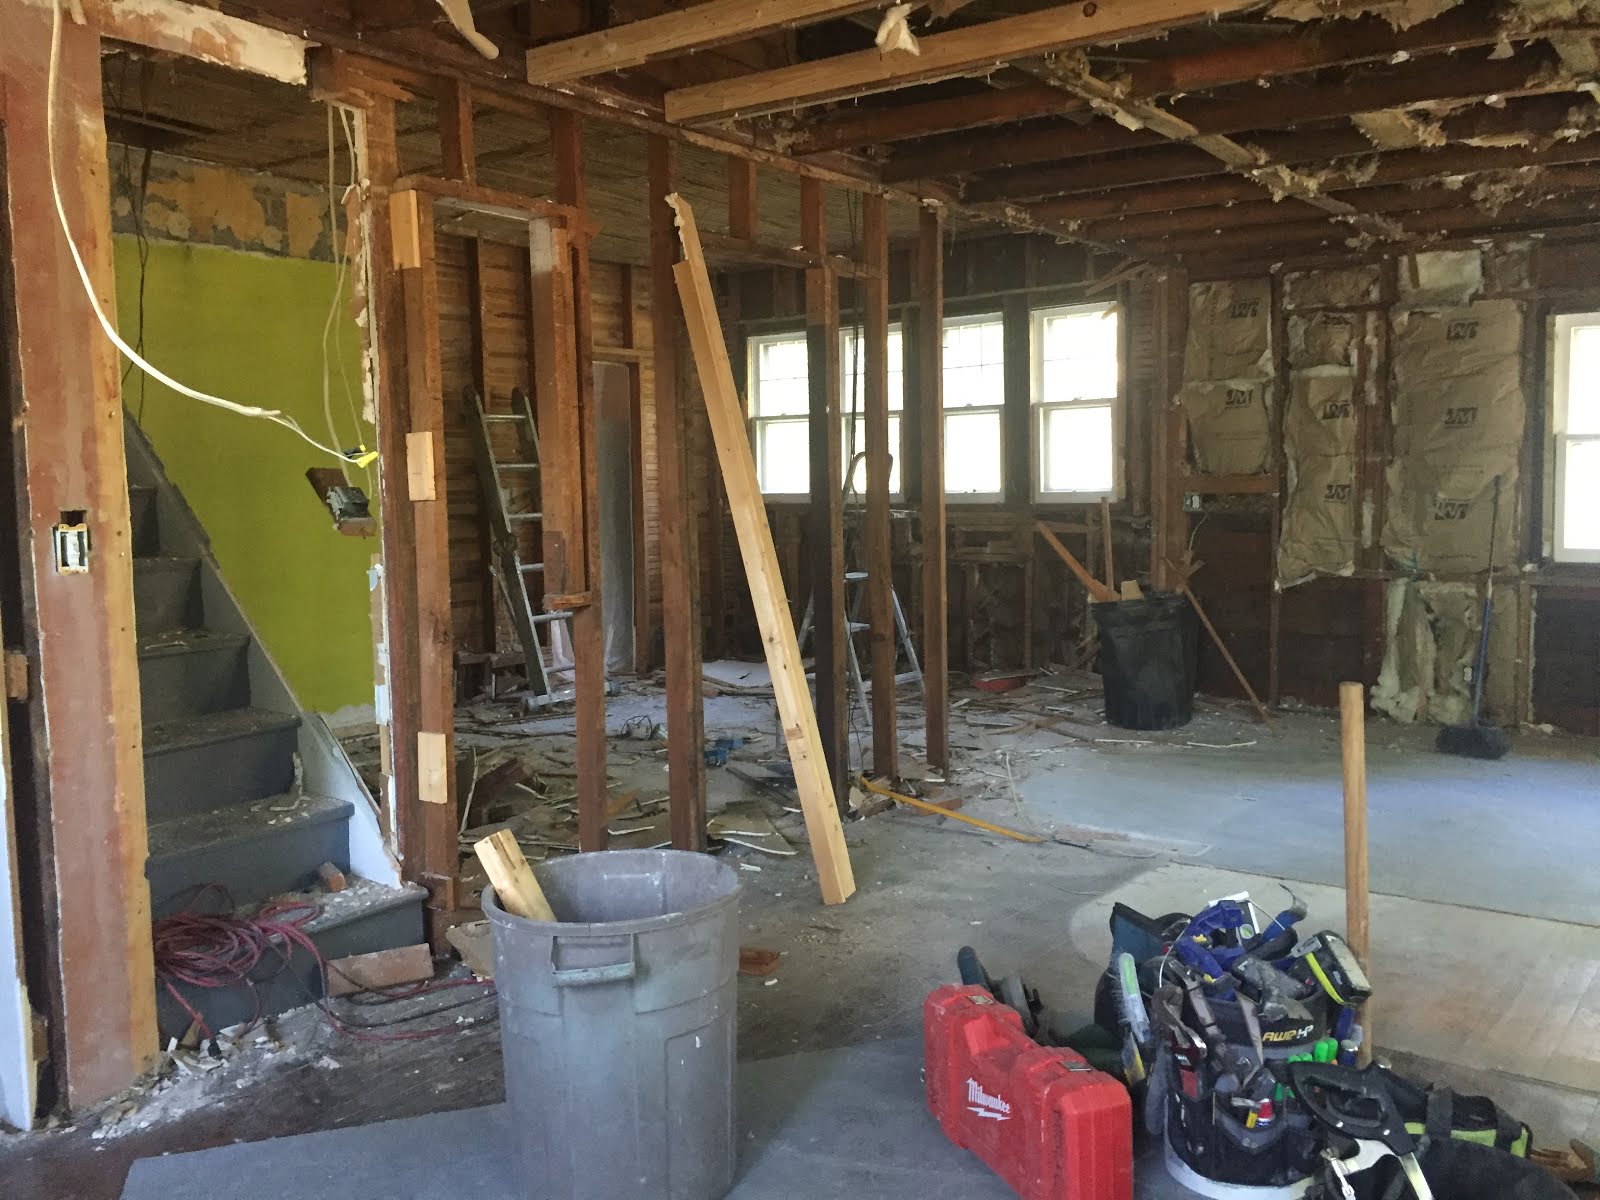


Pantry wall/very old exterior wall - we'll be installing a nice strong beam in the middle of this room.  The framing that is still in this photo was from the original exterior door - whoever made the addition did not add a beam but rather just cut the 2x4's up at the ceiling and tossed up some dry wall.  Glad we're redoing everything so we can add some much needed support to the walls, ceiling and roof.


Stairs and previous pantry


Previous dining room area - this will be turned into our entryway area.  


Thursday, February 21, 2013

After living with an ugly fireplace for a year, we finally started work on it.
Here's what the fireplace looked like when we first bought the house - horrendous!


For the last year we've been enjoying our wonderful wood burning stove insert, but we've had to look at the ugly mantel and surrounding brick.  The brick actually doesn't look horrible in this picture, but it is - it's had been painted a sad fake brick color.  The whole thing is gross.


Work started by building a frame for the new mantel and tile backer.  We wanted to imprison the brick for being so ugly.


Next came the tile backer.
 

Tiling in progress...


And the finished product


Living room rehabs are finished!  Next project = kitchen counter tops

Thursday, January 31, 2013

Time for a living room overhaul!

Here's what our wall has looked like for one full year.


We finally came up with a plan for the beams and the book shelves.  This is the beginning stage of what ended up being a long process with many steps.


Beams are in place waiting for stain.


The recess in the wall which would later have the bookshelves provided a backdrop for figurative art poses.


 We designed and built the shelves in the basement then put them into place.  This is what they looked like before stain and varnish.


We had to put up trim pieces to finish out the beams.  The trim pieces got stained first.


After lots of staining and varnishing we were finally able to decorate the shelves and put the room back together.


Finishing touches for the ceiling was installing a new ceiling fan.  Living room is complete except for the fire place, that's our next project.  We're so excited for it all to be finished.


Sunday, November 18, 2012


After much fretting about how to get the barn doors to slide evenly across an uneven floor, we think we figured it out.  It needed a bottom track on the floor as well as one on the top.  
Here are the completed barn doors.   Bedroom is now complete, except for a light fixture. 


One of the more eventful times in Kansas City, Kansas is the bi-yearly burn permit.  After going to the fire station to obtain the permit, we burned the junk pile that had accumulated from all the house demolition and yard debris.   This is as close as you could get without your face melting off. 


Our gate had some issues with sagging.  It needed cables and turnbuckles supporting it from all angles.  The big crossbeam keeps the doors from scraping against the ground.  Here is the completed gateway to our magical yard of fat goats that fall over. 


Painted our laundry room, here's the before and after.


Also painted our stairs.  


David's parents visited for a few days in October.  We had some nagging projects on our list that really needed to get done, but we had been putting them off because they were no fun.  

Becky scraping the final set of windows that still had paint from when the trim was painted in February.  


After the burn permit, we all cleared off the asphalt driveway that goes into the yard.  This had not been cleared out since we moved to the house.  Perfect spot for ladder golf.

.


  A much more fun activity was preparing the garden for fall/winter.  Dean helped with that. 


Much thanks to David's parents for their assistance with boring tasks.  Although they seemed to enjoy all of it.  Maybe the next blog posting will have the completed stained beams and bookshelf in the living room.  


Thursday, October 11, 2012

So many things to post!  However, I've become lazy about taking pictures.  Here's a glimpse at what's been happening...

Barn doors - they're up and they look AWESOME but I keep forgetting to take a picture of them up.  So to continue the suspense, here's what they looked like as they were being made


I painted our front door, a big improvement over what I called the "almost-same-boring-blue as the rest of the house color".  The front of the house still needs a face lift, but the front door was a good start.


Did a little more work on the TV room upstairs, found a nice rooster lamp at an estate sale.


Bought a piano off of Craigslist.  The cats especially liked it.  David's mom sent us some old piano books that have already been put to use for many hours.


We also spent a long day splitting wood.  Rented a log splitter and invited some helpful friends and family over.  Only about one half of the wood got split, we have a massive pile to work with.  


We've also been spending a fair amount of time relaxing, enjoying the house and hanging out with these girls


Thursday, August 9, 2012

After a few months of catching our breath and allowing our bank account to have a break from daily withdraws at Lowe's, we've started work on the upstairs.  First task was the bedroom floor.  It wasn't in good enough shape to sand and refinish when we did the other floors, so we chose to ignore it until now.  Here's what the room has looked like since we moved in


First David fixed the hole and large gaps in the floor then painted the walls while I resumed the tedious task of scraping the windows.


Next we went an easy route and painted the floors white.  They turned out great.


We had to reconstruct our one of a kind bed, complete with a mural of our last cat.  It had been light blue, we repainted it orange.


Then I got to have fun arranging the new room while he worked on painting the other room upstairs.  This room will be our TV room and arts and crafts room.  Still need to move quite a few things in and hang pictures, but it's coming along nicely.


Coming soon, David's working on building barn doors for the closet.  Then we might have to take another break for a few weeks.