Wednesday, September 14, 2016

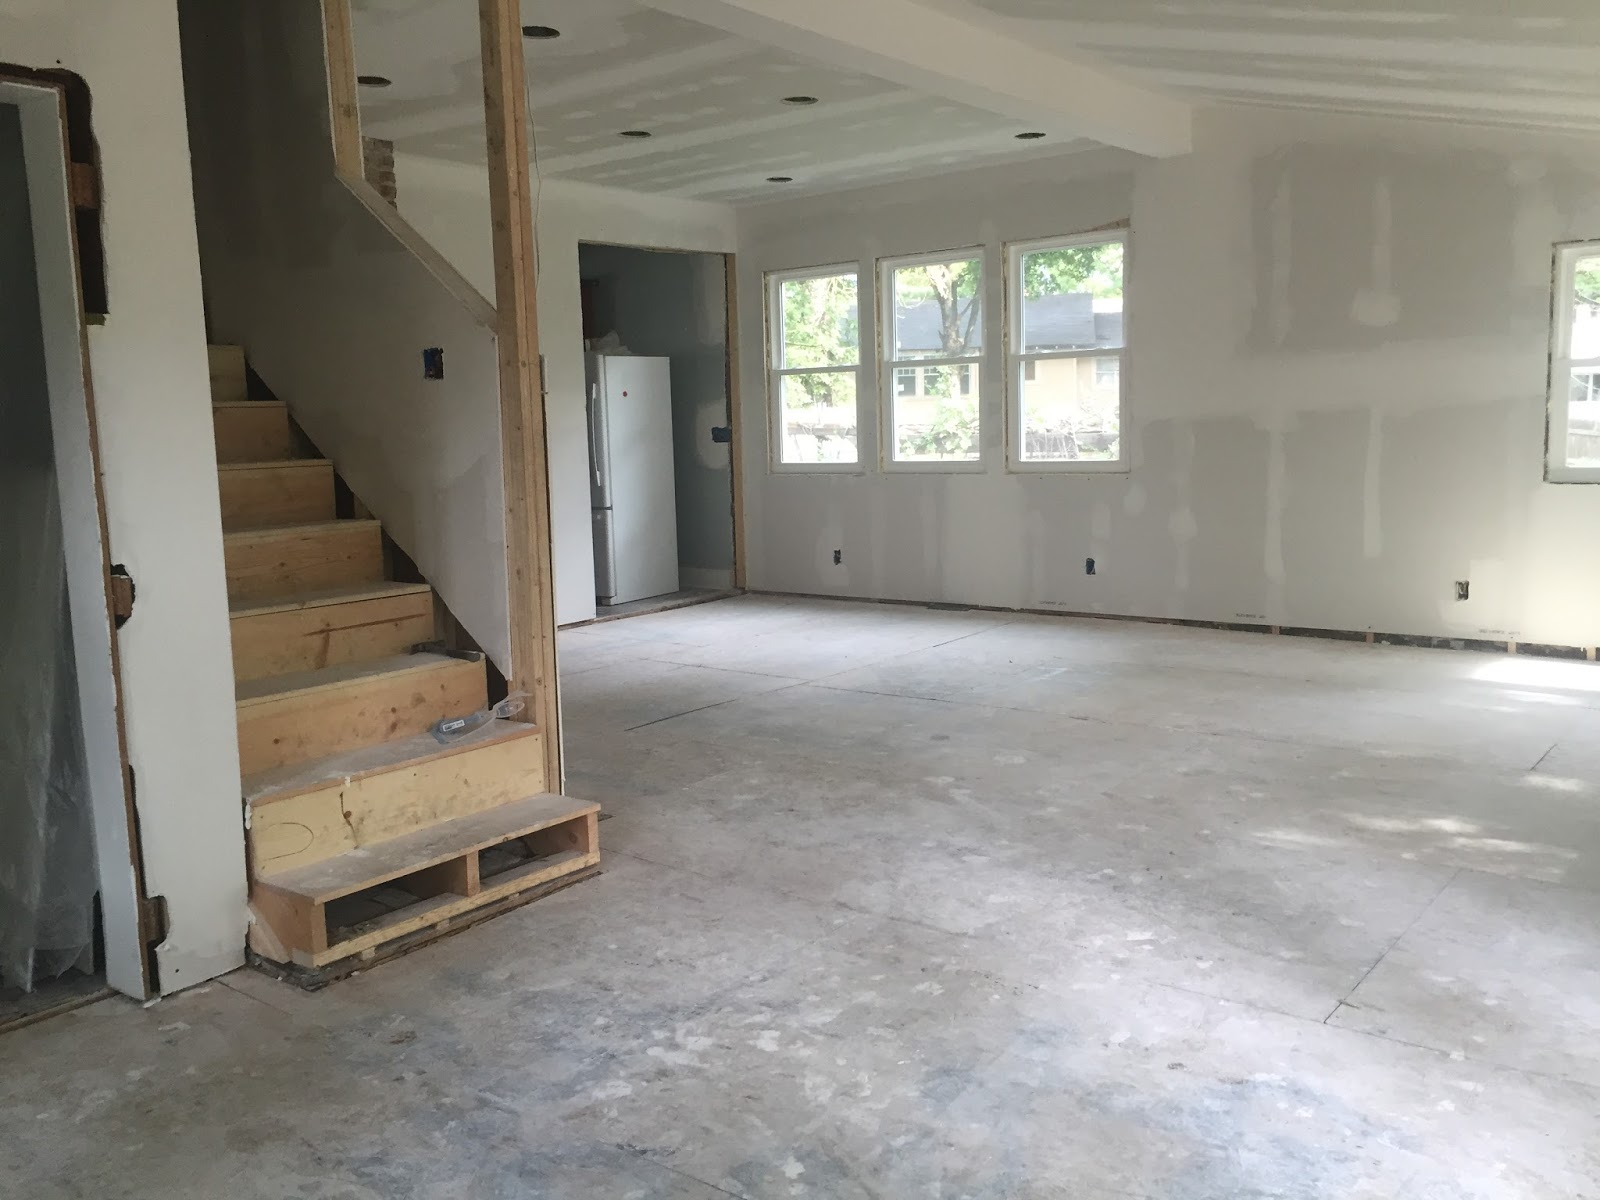
Dry wall is up!  David is very happy this phase is wrapped up.  Was pretty intense getting it ready for the floors to be installed.  Nice to have walls and ceilings with sheetrock and mud though!


We were gone over the weekend, came back and the wood floors were installed - pretty fun to come home to that.   Sorry the first photo is so dark - still no lights installed, not a great photo.  
The floors look amazing though.


This week the floors will get refinished, we'll have them stained dark so they match the rest of the house and cabinets MIGHT get delivered!  So excited!!!

Sunday, August 28, 2016

Progress continues.  The floor in the dining room/kitchen area has always sloped, likely due to the dining room being an addition. A few years back we had a professional foundation company come out and ensure that the foundation and flooring in the addition is okay.  They added some supports but the floor has still been sloped.  We went ahead and pulled up all the old wood flooring and underlayment.  Was a little scary to walk on, luckily it was only this way for one day/night. 


New plywood, will provide much more level underlayment for the new wood flooring.  We were very happy to have actual floor to walk on again. 


Wednesday, August 24, 2016

Look what David made!  We have new stairs.  Perhaps the most exciting part of this process (for me personally) as I hated our old stairs and then despised the ladder even more.  Stairs are now wider and less steep.  


We spray painted the kitchen floor plan - you can see the island which will have the sink and dishwasher and then against the walls, an L shaped cabinet run. 


The drop ceiling has also been completely removed and new rafters have been added.   Also installed was a massive beam spanning this opening.  This room is looking nice and spacious.


Next was the daunting task of rebuilding the back wall.  We decided to move the back door and change the layout of the windows.  Here's what the back wall looked like. 


Demo and rebuilding progression - 


Next step is leveling the floor inside.  It is very very wonky. 

Monday, August 22, 2016

Demo is well underway.  Life is slightly more difficult when your kitchen is non existent but we're making the best of it.  We have a nice little makeshift kitchen set up in the living room.  We've already gotten pretty used to the new way of cooking.  


The most difficult aspect so far has been our stairs to our bedroom/bathroom have been removed.  With the stairway being removed it would be possible to leap from the second story all the way to the basement.  The temporary solution is this ladder. 


One fun part about demo-ing old houses are all of the treasures you find.  These bottles of old whiskey and cigarettes were found in the ceiling rafters.  


Notice the brick in the background - we removed the plaster coating on the back of the fireplace and found this rustic brick which we will leave exposed in the new kitchen.

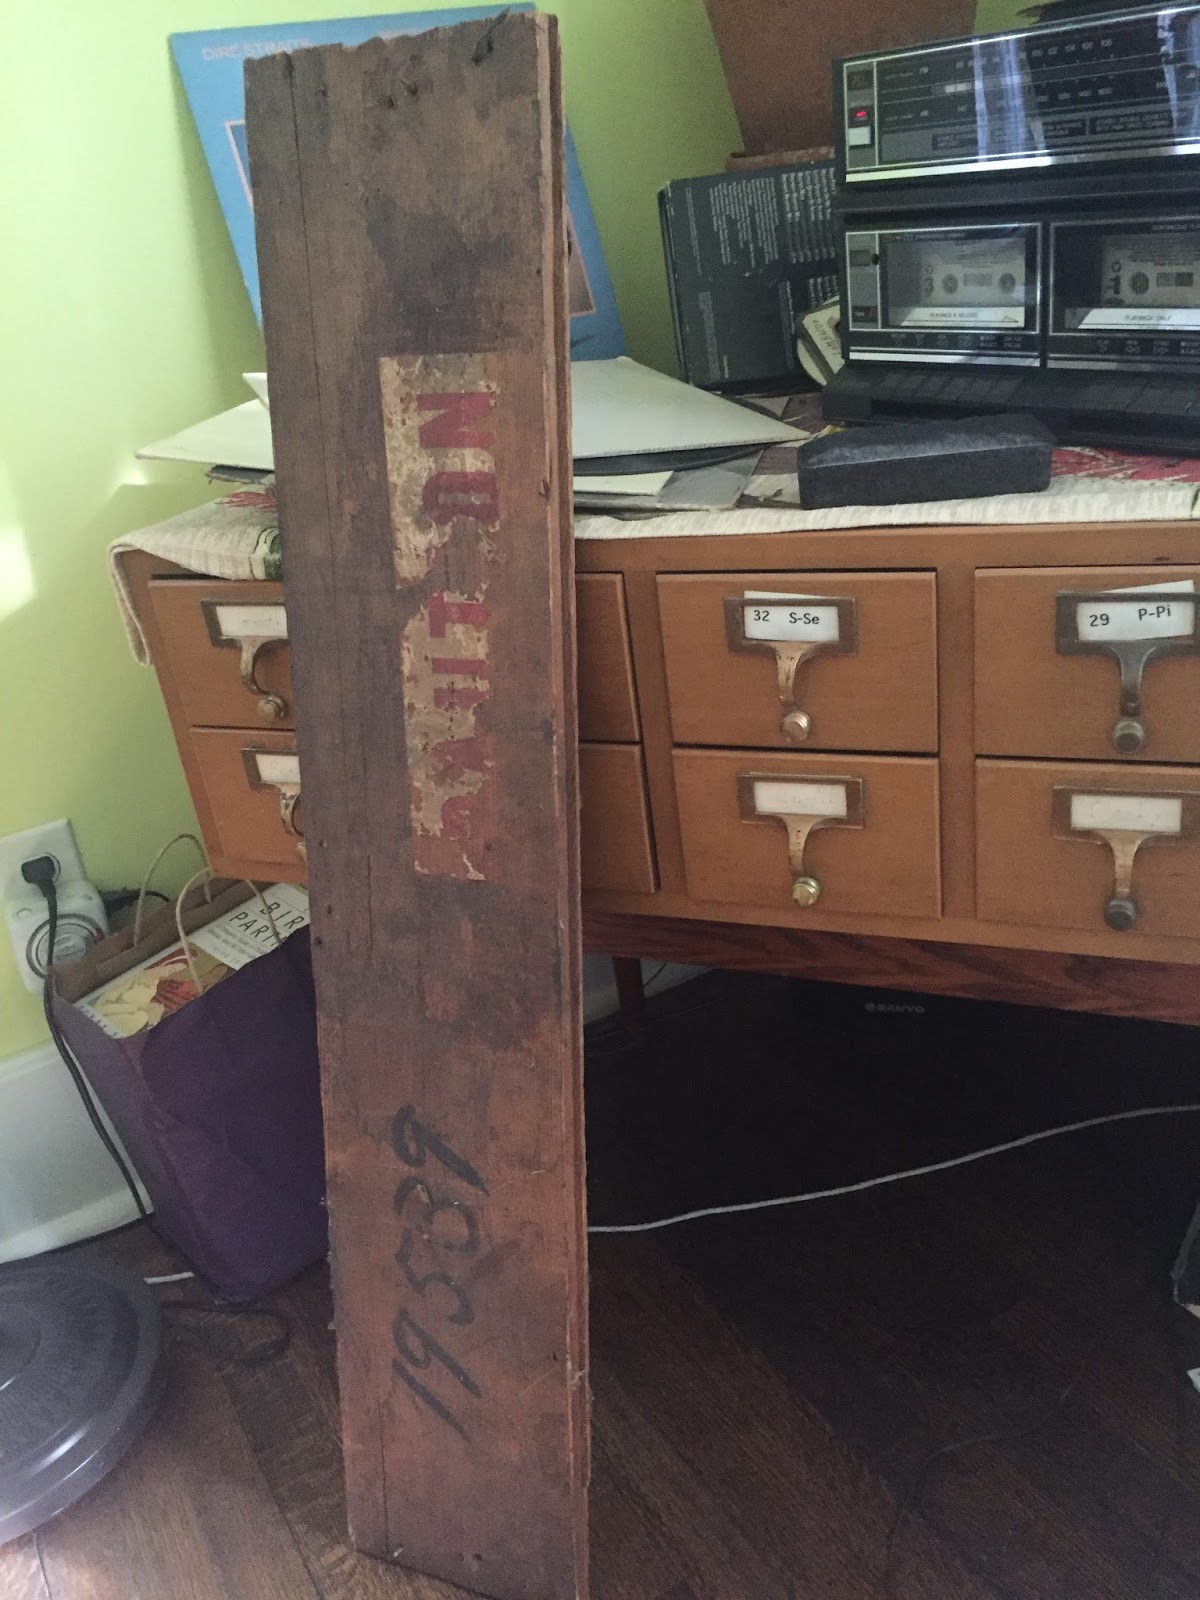
While David's been causing a tornado, I've become obsessed with figuring out the history of our house.  Tax records and the city assessor's office say our house was built in 1945.  We've always felt the house is much older.  We found a very small newspaper clipping nailed to one of the joists that was from 1912.  I went today to the register of deeds to see if they had any records, the woman I spoke to was going to do some research but said it's likely older than the city tax record.  We also found this board in the ceiling that says CAUTION and the numbers 19539.  Not sure if they mean anything but the numbers are a zip code in Pennsylvania. 


Friday, August 19, 2016

Kitchen Demo Day One!


It's been about 2 1/2 years since we've posted anything.  Lots has happened.  We are now starting on the kitchen and that's the primary project I'll be posting about. I'll also try to toss in some photos of the other rooms/projects we've knocked out since 2013 when there's nothing to post for the kitchen.  

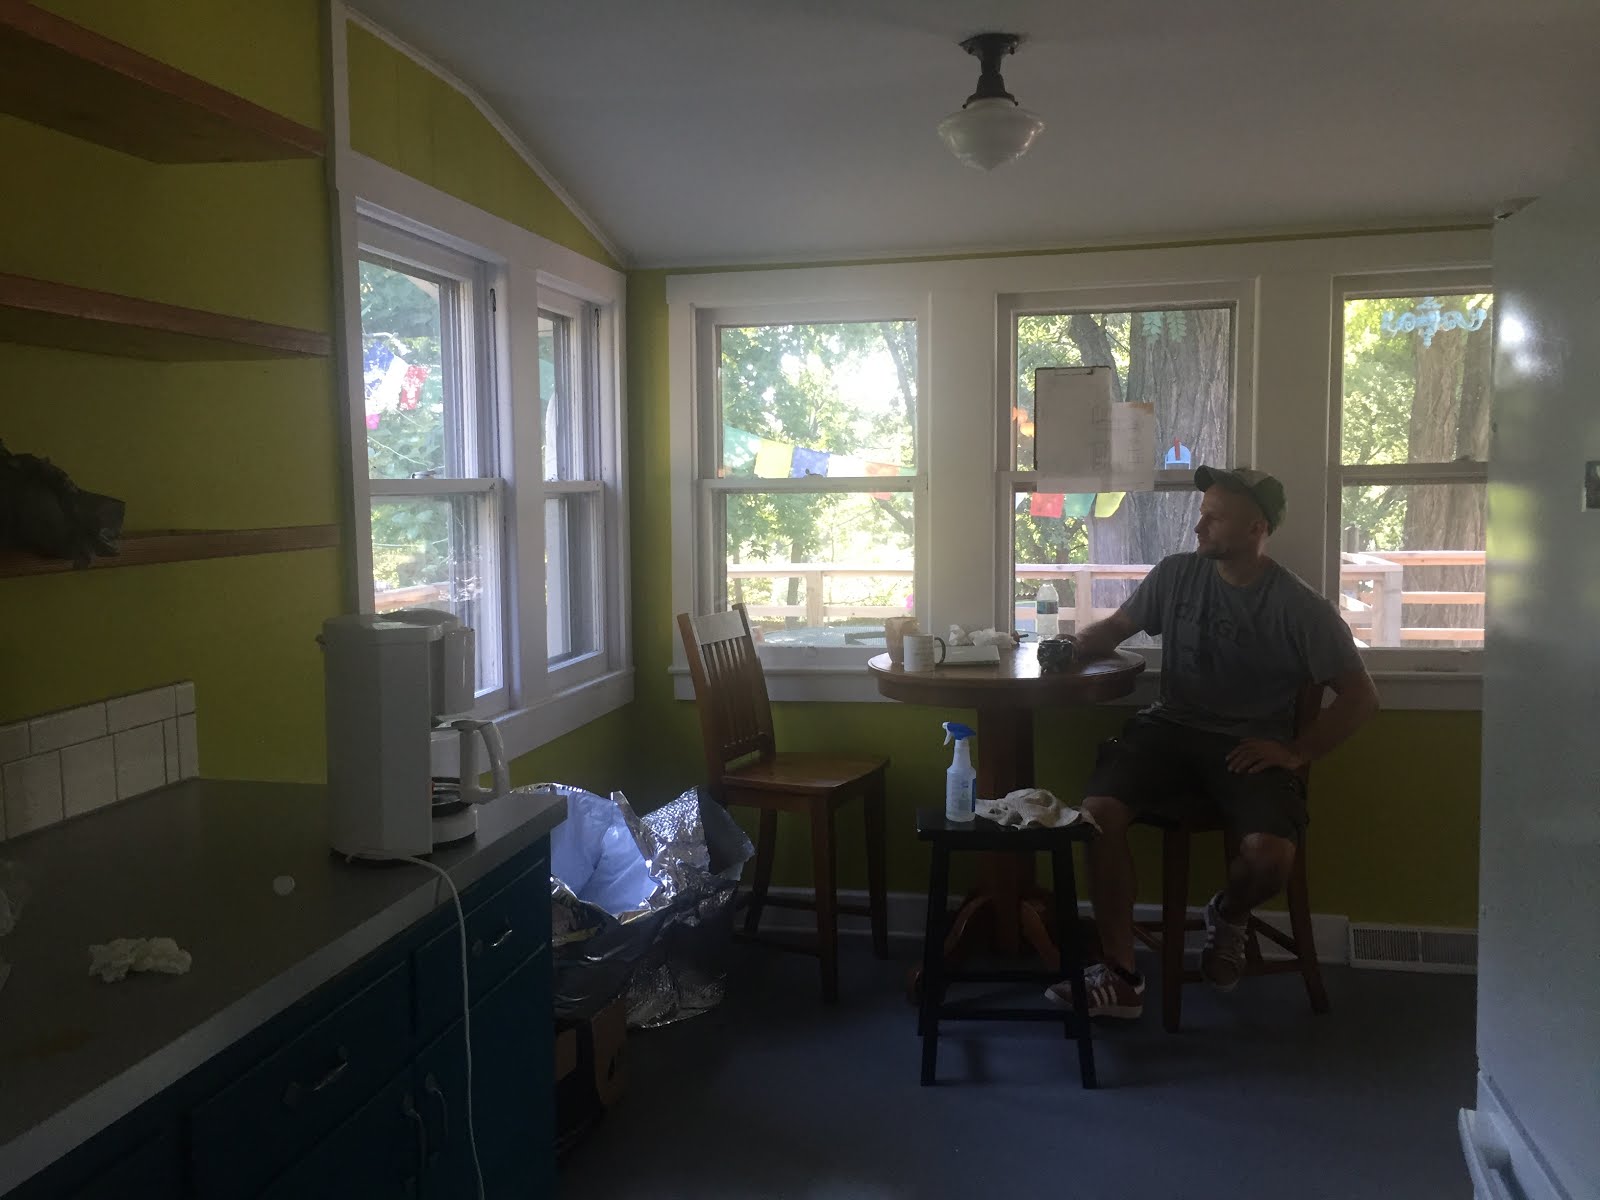
Here's some before pictures, taken this morning.  Apologies that it might be hard to grasp the floor plan if you've not actually been here.  It's a galley style kitchen, very large pantry (that we use as our kitty food/litter room), an awkwardly small dining room that feels more like a hallway and a breakfast table area (where we spent most of our time).

Kitchen with our fun colors.  Goodbye colors and shelves.  


Dining Room area and small staircase 


Dining room looking at David sitting at his breakfast table.  He was a little sad this morning.  Notice the orange wall on the left side - that's the pantry wall/old exterior wall that will be removed later in the day. 


Another picture of our breakfast nook area


And a few of the pantry 


Hallway into the pantry and the basement stairs


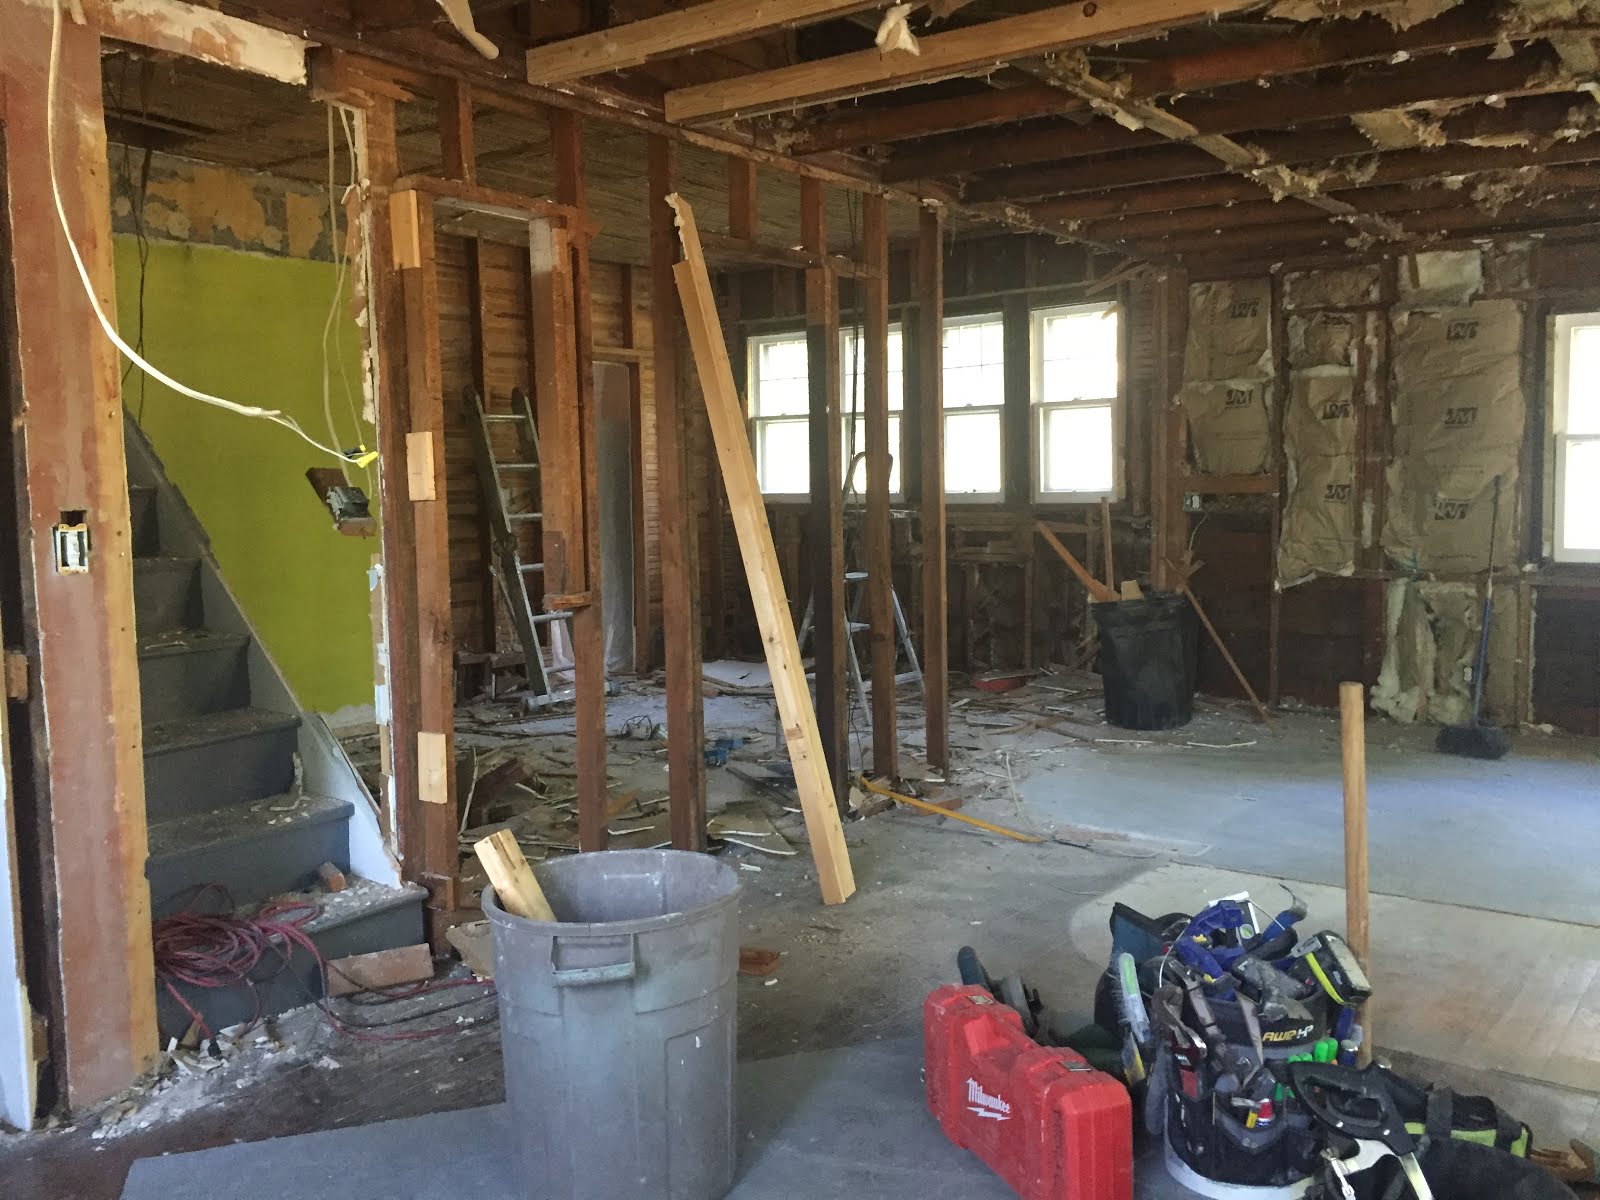
And now for the DEMO...
Previous kitchen area


Dining room looking to where the pantry was


Pantry wall/very old exterior wall - we'll be installing a nice strong beam in the middle of this room.  The framing that is still in this photo was from the original exterior door - whoever made the addition did not add a beam but rather just cut the 2x4's up at the ceiling and tossed up some dry wall.  Glad we're redoing everything so we can add some much needed support to the walls, ceiling and roof.


Stairs and previous pantry


Previous dining room area - this will be turned into our entryway area.  


Thursday, February 21, 2013

After living with an ugly fireplace for a year, we finally started work on it.
Here's what the fireplace looked like when we first bought the house - horrendous!


For the last year we've been enjoying our wonderful wood burning stove insert, but we've had to look at the ugly mantel and surrounding brick.  The brick actually doesn't look horrible in this picture, but it is - it's had been painted a sad fake brick color.  The whole thing is gross.


Work started by building a frame for the new mantel and tile backer.  We wanted to imprison the brick for being so ugly.


Next came the tile backer.
 

Tiling in progress...


And the finished product


Living room rehabs are finished!  Next project = kitchen counter tops

Thursday, January 31, 2013

Time for a living room overhaul!

Here's what our wall has looked like for one full year.


We finally came up with a plan for the beams and the book shelves.  This is the beginning stage of what ended up being a long process with many steps.


Beams are in place waiting for stain.


The recess in the wall which would later have the bookshelves provided a backdrop for figurative art poses.


 We designed and built the shelves in the basement then put them into place.  This is what they looked like before stain and varnish.


We had to put up trim pieces to finish out the beams.  The trim pieces got stained first.


After lots of staining and varnishing we were finally able to decorate the shelves and put the room back together.


Finishing touches for the ceiling was installing a new ceiling fan.  Living room is complete except for the fire place, that's our next project.  We're so excited for it all to be finished.